Materials
- PBS: 0.01M Phosphate-Buffered Saline, pH 7.2–7.4
- PBS-Tx: PBS containing 1% (v/v) Triton X-100
- Tris-buffered saline (TBS): 25 mM Tris, 140 mM NaCl, and 3 mM KCl, pH 7.5
- Micro BCA Protein Assay Reagent Kit (Thermo Fisher Scientific Inc., Cat. #23235)
- Cy3 Mono-Reactive Dye Pack 1 mg × 5 (GE Healthcare – Life Sciences, Cat. #PA23001)
- Dimethyl formamide (DMF): dehydrated
- Zeba Desalt Spin Columns, 0.5 mL (25 columns) (Thermo Fisher Scientific Inc., Cat. #89882)
- Probing Solution (ask Mx about it, you could find the composition in a Reference Paper)
- Kimtex White (CRECIA, Cat. #36200)
- IgG from human serum (h-IgG) (Sigma-Aldrich, Cat. #I8640)
- Cy3-Streptavidin, 1 mg/mL (GE Healthcare – Life Sciences, Cat. #PA43001)
- Mem-PER Plus Membrane Protein Extraction Kit (Thermo Fisher Scientific Inc., Cat. #89842)
- Molecular sieves (Sigma-Aldrich, Cat.#208604)
Instruments

- Micro-centrifuge (MX-301: Tomy Seiko Co., Ltd.)
- 96-well microplate reader (SpectraMax M5: Molecular Devices)
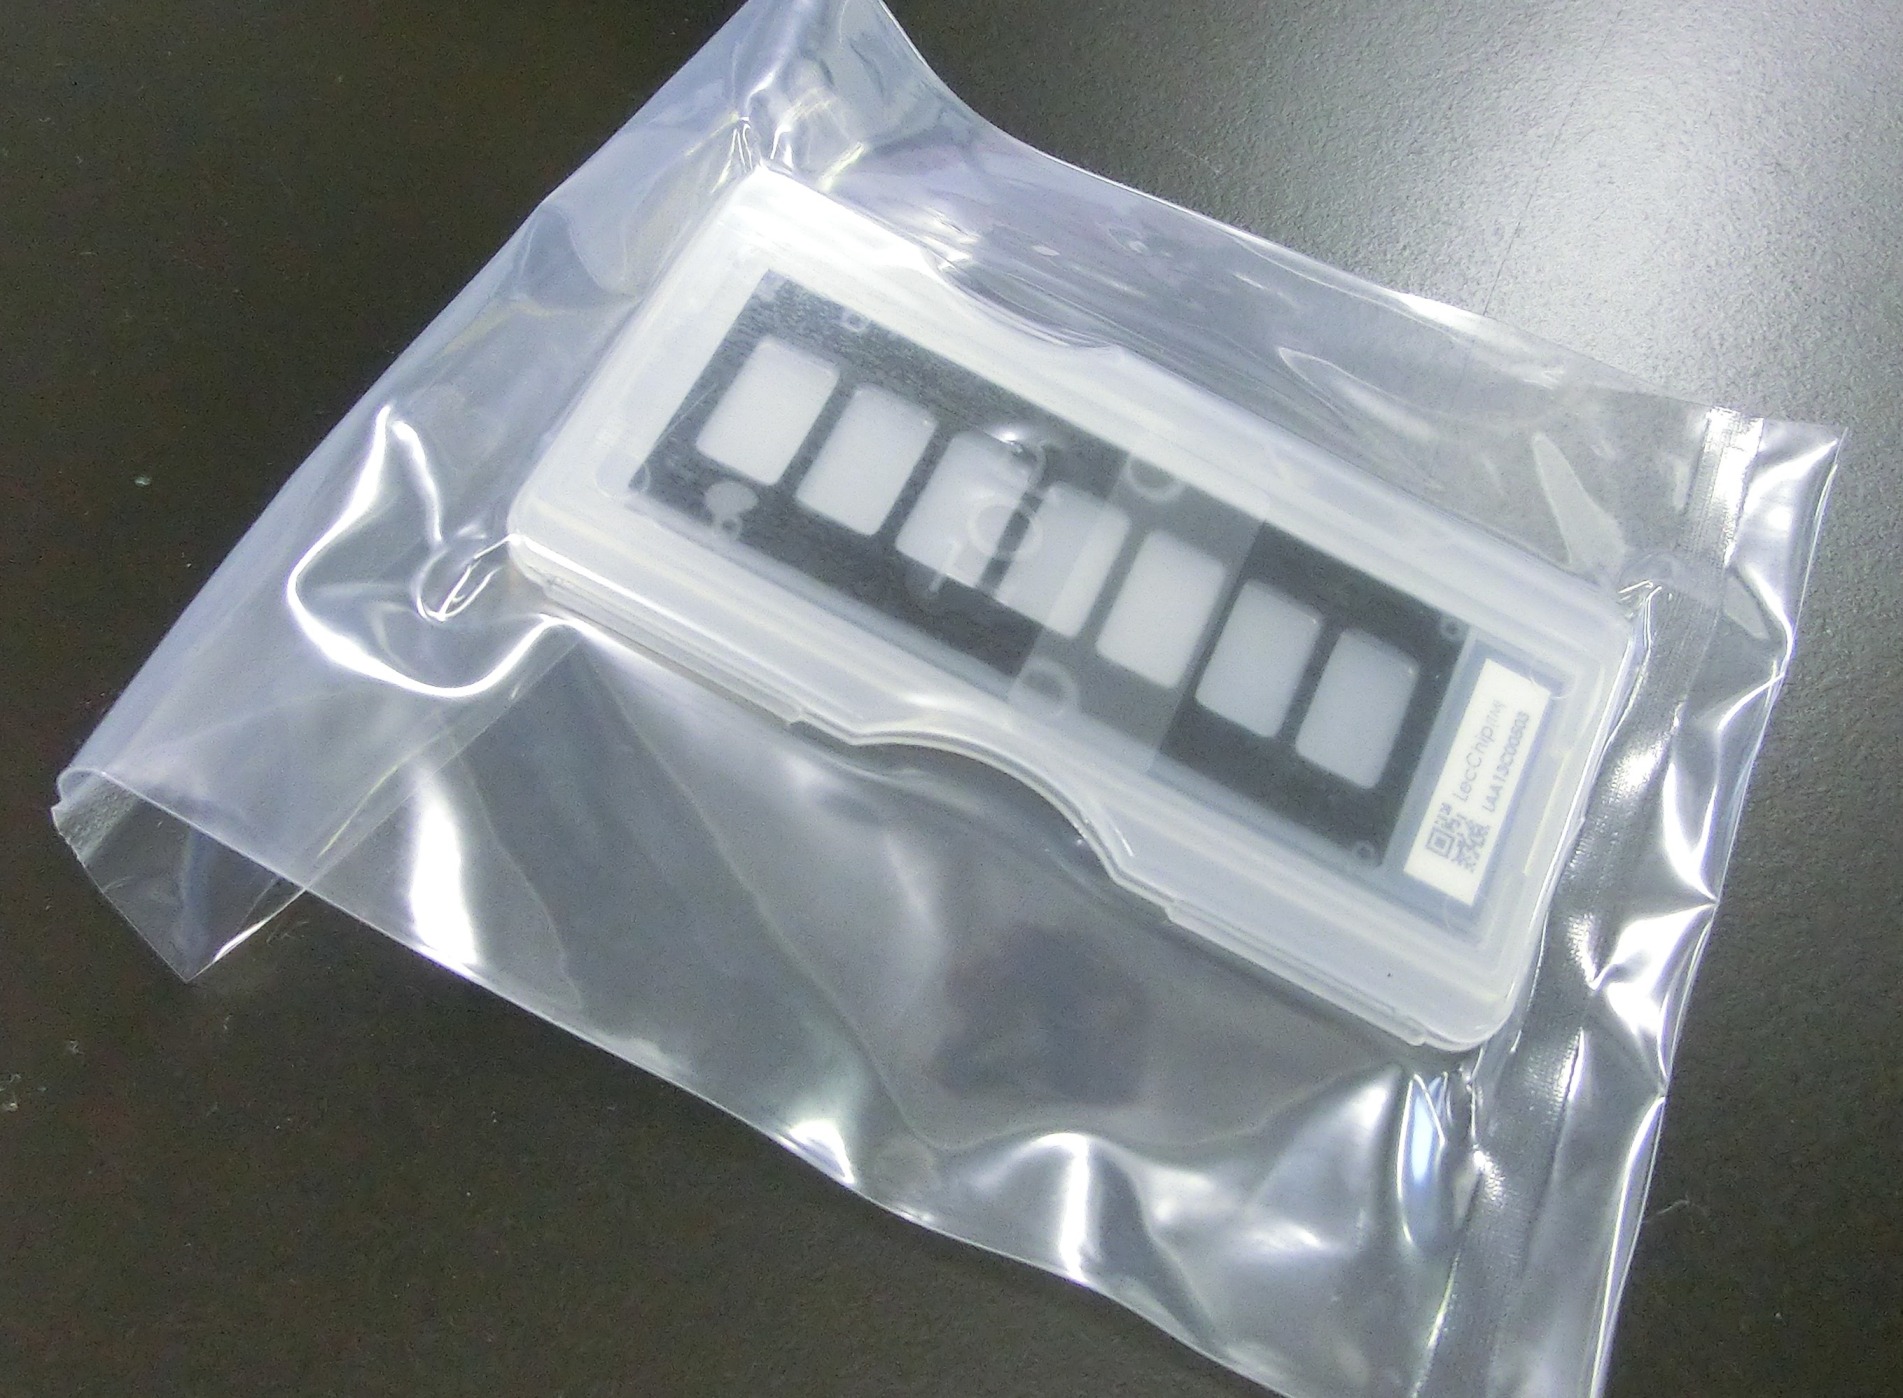
- Lectin microarray Ver.1.0 and Ver.2.0 (Precision System Science Co., Ltd., if you have questions, ask Mx)
- GlycoStation® Reader 2300, GlycoSuperLite 2200 (Mx)
- GlycoStation® ToolsPro Ver.3.0 (Mx)
- Vacuum centrifugal dryer (UT-1000, Cat #CVE-200D: Tokyo Rikakikai Co. Ltd. [EYELA])
- Invitroshaker (Wave-PR, TAITEC Corp.)
Protein extraction
- Follow the vendor’s standard protocol for Mem-PER Plus Membrane Protein Extraction Kit.
- Refer to an URL link for the protocol from the Thermo Fisher Homepage
Protein quantification
- Use Micro BCA Protein Assay Reagent Kit
- Prepare a 1.5-mL micro-centrifuge tube labeled as bovine serum albumin (BSA) in a tube rack, and add 240 µL of PBS to the BSA tube
- Add 10 µL of BSA solution (2 mg/mL) to the BSA tube for preparing 80 µg/mL of BSA and mix it by pipetting
- Place the tube of BSA (80 µg/mL) and a tube of the glycoprotein sample on ice
- Prepare in a 96-well microplate a serial dilution of BSA solution starting from a concentration of 80 µg/mL (100 µL), by diluting it by a ratio of 1/2, to to the final concentration, 1/128th of the initial concentration
- Prepare the same dilution series in the microplate for the glycoprotein sample
- Mix 2.5 mL of Micro BCA Reagent A (MA), 2.4 mL of Micro BCA Reagent B (MB), and 100 µL of Micro BCA Reagent C (MC) in a 15-mL tube (hereinafter WR means a Working Reagent prepared in this way)
- Add 100 µL of WR to all the wells of the microplate
- Seal all wells with a plate seal
- Incubate at 37°C for 2 h
- Remove the plate seal
- Measure the absorbance at 562 nm with a microplate reader, and calculate the protein concentration of the sample using a calibration curve obtained from BSA
Cy3 fluorescence labeling
- Dilute samples to 50 μg/mL by adding PBS (Note 1) based on the result of the Micro BCA Protein Assay
- Add 20 µL of each diluted sample into a tube containing Cy3, whose amount is used for labeling of 100 μg of proteins (Note 2)
- Thoroughly mix each sample using a pipette
- Centrifuge to spin down any fluids on the tube sidewall
- Place the tubes in a light shielding container and incubate at 25°C for 1 h
Gel filtration to remove an excess amount of free Cy3
- Prepare Zeba desalt spin columns (0.5 mL).
- Remove the column’s bottom plugs and loosen caps (Note 3)
- Place the column in a 2.0 mL-micro-centrifuge tube
- Centrifuge at 1,500 ×g for 1 min to remove the storage solution
- Mark on the side of the column where the compacted resin is slanted upward
- Place the column in the micro-centrifuge with the mark facing outward in all subsequent centrifugation steps
- Add 300 μL of TBS to the column and centrifuge at 1,500 ×g for 1 min to remove the buffer
- Repeat the above Steps twice (i.e., thrice in total), discarding the buffer from the collection tube
- Place the column in a new collection tube, remove the cap, and apply all of the sample (20 μL) to the top of the compact resin bed
- Apply 25 μL of TBS to the top of the gel bed after the sample has fully absorbed by the gel
- Centrifuge at 1,500 ×g for 2 min to collect the Cy3-labeled sample
- Discard desalting columns after use
Apply the Cy3-labeled glycoprotein to lectin microarray
- Measure each volume of the Cy3-labeled samples with a micropipette (must be 45 μL)
- Prepare a total volume of 500 μL by adding Probing Solution. The protein concentration becomes 2 μg/mL as 1 μg of protein is contained
- Serially dilute each sample to 2,000, 1,000, 500, 250, 125, 62.5, and 31.25 ng/mL using Probing Solution (100 μL each)
- Take out Lectin mocroarrays (stored at −20°C) and place in a highly sealed incubation box.
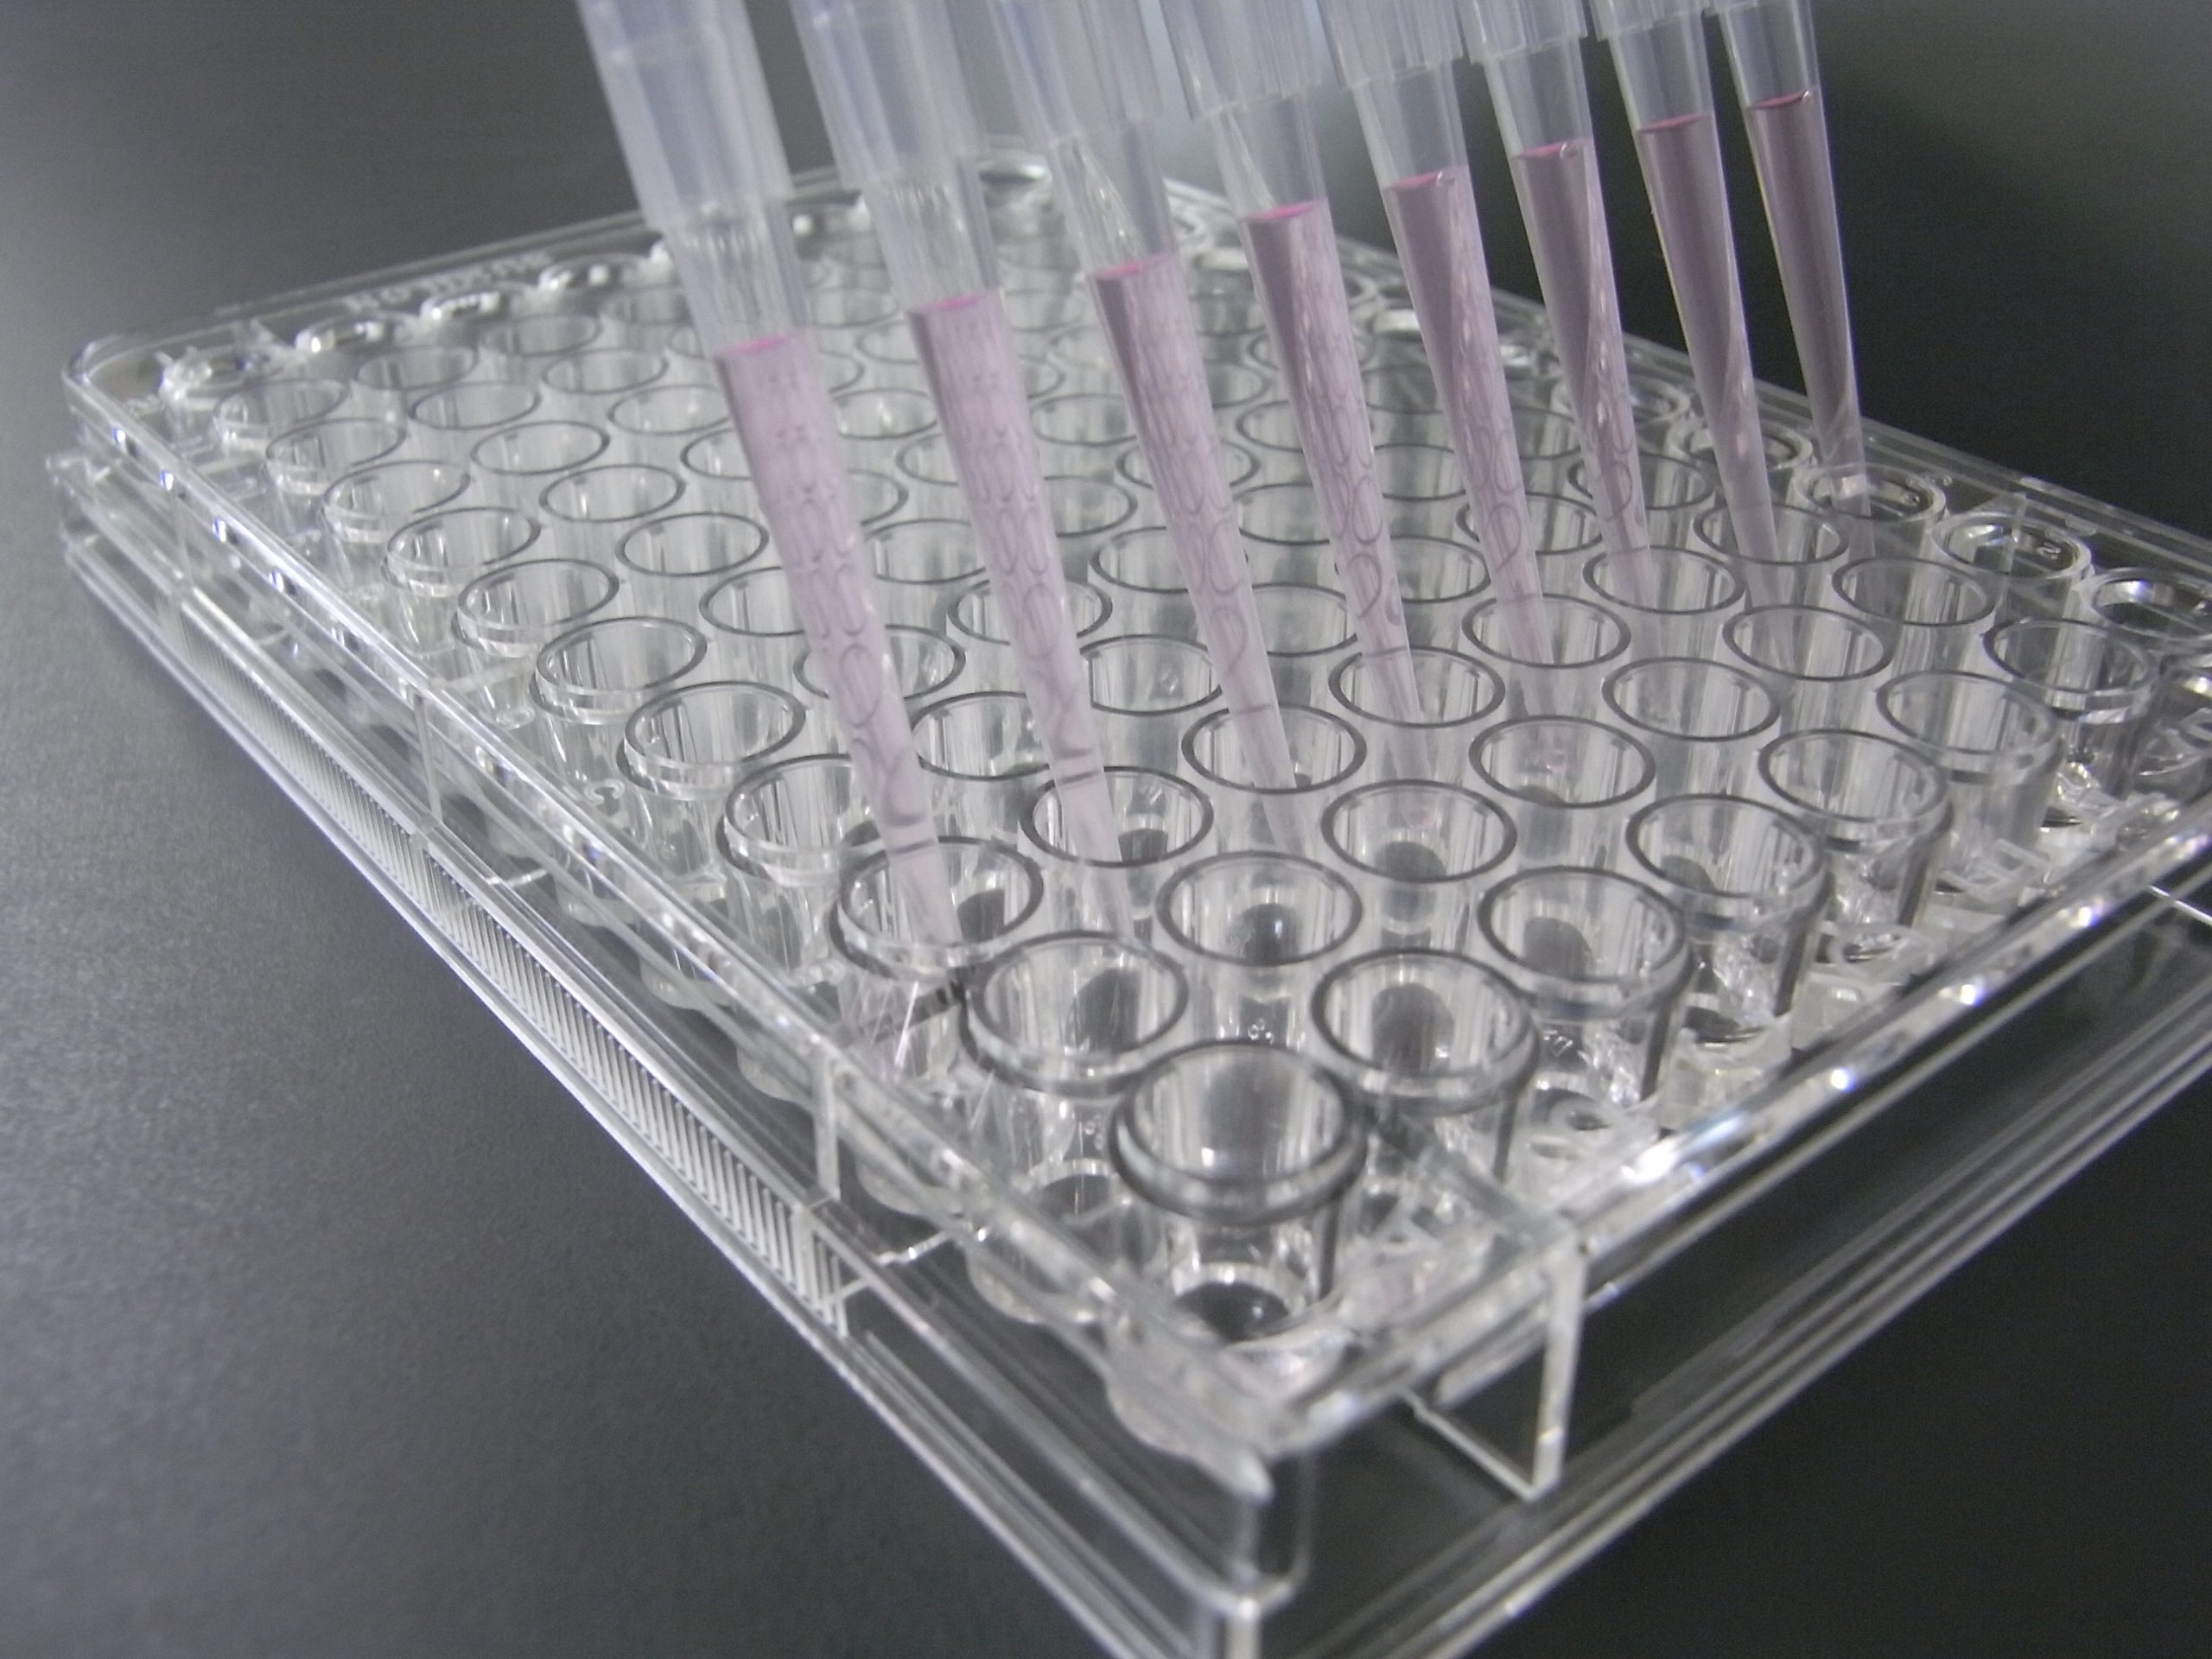
- Apply 100 μL of Probing Solution with an 8-channel multipipette to the well of the Lectin microarray at the same time
- Discard the Probing Solution, and place a Lectin microarray face down on a paper (e.g., Kimtex Quarterfold) to blot Probing Solution from the wells.
- Before the wells on Lectin microarray dry up (i.e., as soon as possible after 6), apply 100 μL of Probing Solution to the wells.
- Repeat the above Steps (i.e., wash thrice with Probing Solution).
- Discard the Probing Solution, and apply 100 μL of these samples to each well of the Lectin microarrays with a pipette.
- Place the Lectin microarrays in a highly sealed incubation box, and incubate it at 20°C for 16 h shaking on Invitroshaker at a low speed in the dark.
Data acquisition and analysis
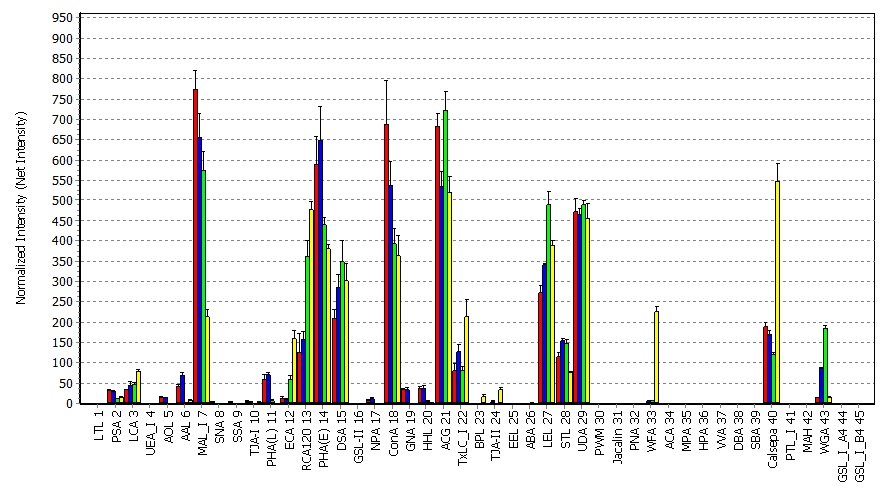
Scan the LecChips with GlycoStation Reader 2300 or GlycoSuperLite 2200 following the recommended reader settings and conditions (Note 4), where data are digitized with GlycoStation ToolsPro Ver.3.0. Before setting Lectin microarray on the stage of the scanner, do not forget to wipe the backside of the slide glass with 70% ethanol. The net intensity for each lectin spot is calculated by subtracting the background from the signal intensity. The digitized data are displayed differentially with GlycoStation ToolsPro Ver.3.0 and analyzed.
- Generate grids on scanned images (in TIF format), digitize spot intensities (in 16 bits), and calculate net intensities
- Two types of background modes can be selected (Local Background mode and Global Background mode)
- Expand dynamic range in a higher signal range using a gain integration (data integration) function using two or more fluorescent images taken at different gains (i.e., exposure times), and thereby compensate saturated lectin spot intensities
- Draw binding curves (sample concentration on transverse axis and net intensity on longitudinal axis) and select the most appropriate protein concentration for the comparative glycan profiling analysis
- Draw comparative glycan profiling images (Maximum, 10 comparisons are drawn)
- Data normalization can be done by several normalization methods (i.e., Raw, Marker Intensity, Highest Intensity, Average, and Specified Lectin)
- Copy and paste drawings onto other software, such as PowerPoint, via clipboard
- Numerical data used for the drawings can be exported onto Excel
- Data sets can be also exported to other software (e.g., SA/DL Easy, Mx) for statistical analysis and deep learning
- Any custom lectin panels can be handled by editing lectin names with GlycoStation ToolsPro ver3.0
Antibody-overlay method
- Adjust sample protein concentration with Probing Solution to appropriate concentrations (usually from 0.25 µg/mL to 2 µg/mL)
- Apply 50 µL of the sample prepared above onto each well of Lectin microarray
- Incubate it overnight on a shaker at 20°C.
- Add nonspecific human IgG (h-IgG, 10 mg/mL) as a blocker by 2 µL/well (Note 5)
- Incubate it on a shaker at 20°C for 30 min
- Wash thrice with PBS-Tx by 100 µL/well
- Apply PBS-Tx by 48 µL/well, h-IgG (10 mg/mL) by 2 µL/well, and a biotinylated specific antibody at a concentration (between 4 µg/mL and 500 ng/mL) by 50 µL/well
- Incubate it on a shaker at 20°C for 1 h
- Wash thrice using a PBS-Tx 100 µL/well
- Apply PBS-Tx by 46 µL/well. Then, apply Cy3-Streptavidin (diluted to 50 µg/mL by PBS) by 4 µL/well
- Incubate it at 20°C for 30 min
- Wash thrice using a PBS-Tx 100 µL/well
- Apply PBS-Tx using a 50 µL/well
- Scan it using GlycoStation Reader 2300 or GlycoSuperLite 2200

- Other neutral buffers can be used; however, do not use those containing amines (e.g., Tris buffer), which easily react with Cy3-NHS ester, resulting in in a loss of or greatly reduced Cy3-labeling of target glycoproteins
- Preparation of Cy3 (100 µg/tube). Dehydrate DMF with molecular sieves overnight, prepare Cy3 Mono-Reactive Dye Pack, and dissolve its one vial containing 1 mg of Cy3 with 50 µL of DMF. Dispense 5 µL of the Cy3-DMF into 10 microtubes, set the microtubes into a vacuum centrifugal dryer and dry out for 4 h in the dark, close the microtube caps tightly, and store them in a light-shielded case at 4°C with desiccants
- Do not remove the cap. Otherwise, the resin will be dried and the amount of protein fraction eluted will be changed
- To detect weak signals while avoiding saturation of strong signals, take several scans (~ 5 scans) adjusting the gain and the exposure time around the recommended condition
- The original paper regarding the antibody-overlay method (it is necessary to block direct interaction between antibody glycan and lectin)
Appendix
How to get a target protein from a crude sample? Prepare Streptavidin coated magnetic beads, biotinylated antibody for the target protein, and wash buffer TBS-Tx (TBS + TritonX-100 1% (v/v)). The biotinylated antibodies are conjugated with streptavidin coated magnetic beads. The target proteins are captured by the biotinylated antibodies, and the proteins are detached from the antibodies by heat treatment at 60°C for 5 min.